고정 헤더 영역
상세 컨텐츠
본문
이전까지 Service Discovery에 여러 인스턴스를 등록하는 과정을 진행했지만,
이러할 경우 각 포트와 URI 정보가 달아지기 때문에 배포를 하더라도 클라이언트측에서도 같이 반영되어야되는 단점이 존재합니다.
따라서,
중간에 API Gateway를 두어서 클라이언트가 API Gateway에 호출하여 호출정보에 맞는 각 인스턴스로 맵핑해주는 역할이 필요합니다.
API Gateway Service를 한다면,
- 인증 및 권한 부여
- 서비스 검색 통합
- 응답 캐싱
- 정책, 회로 차단기 및 Qos 다시 시도
- 중간 서비스에 문제가 발생할 경우 간단하게 막을 수 있다.
- 속도 제한
- 부하 분산
- 로깅, 추적, 상관 관계
- 헤더, 쿼리 문자열 및 청구 변환
- IP 허용 목록에 추가
등의 작업을 할 수 있습니다.
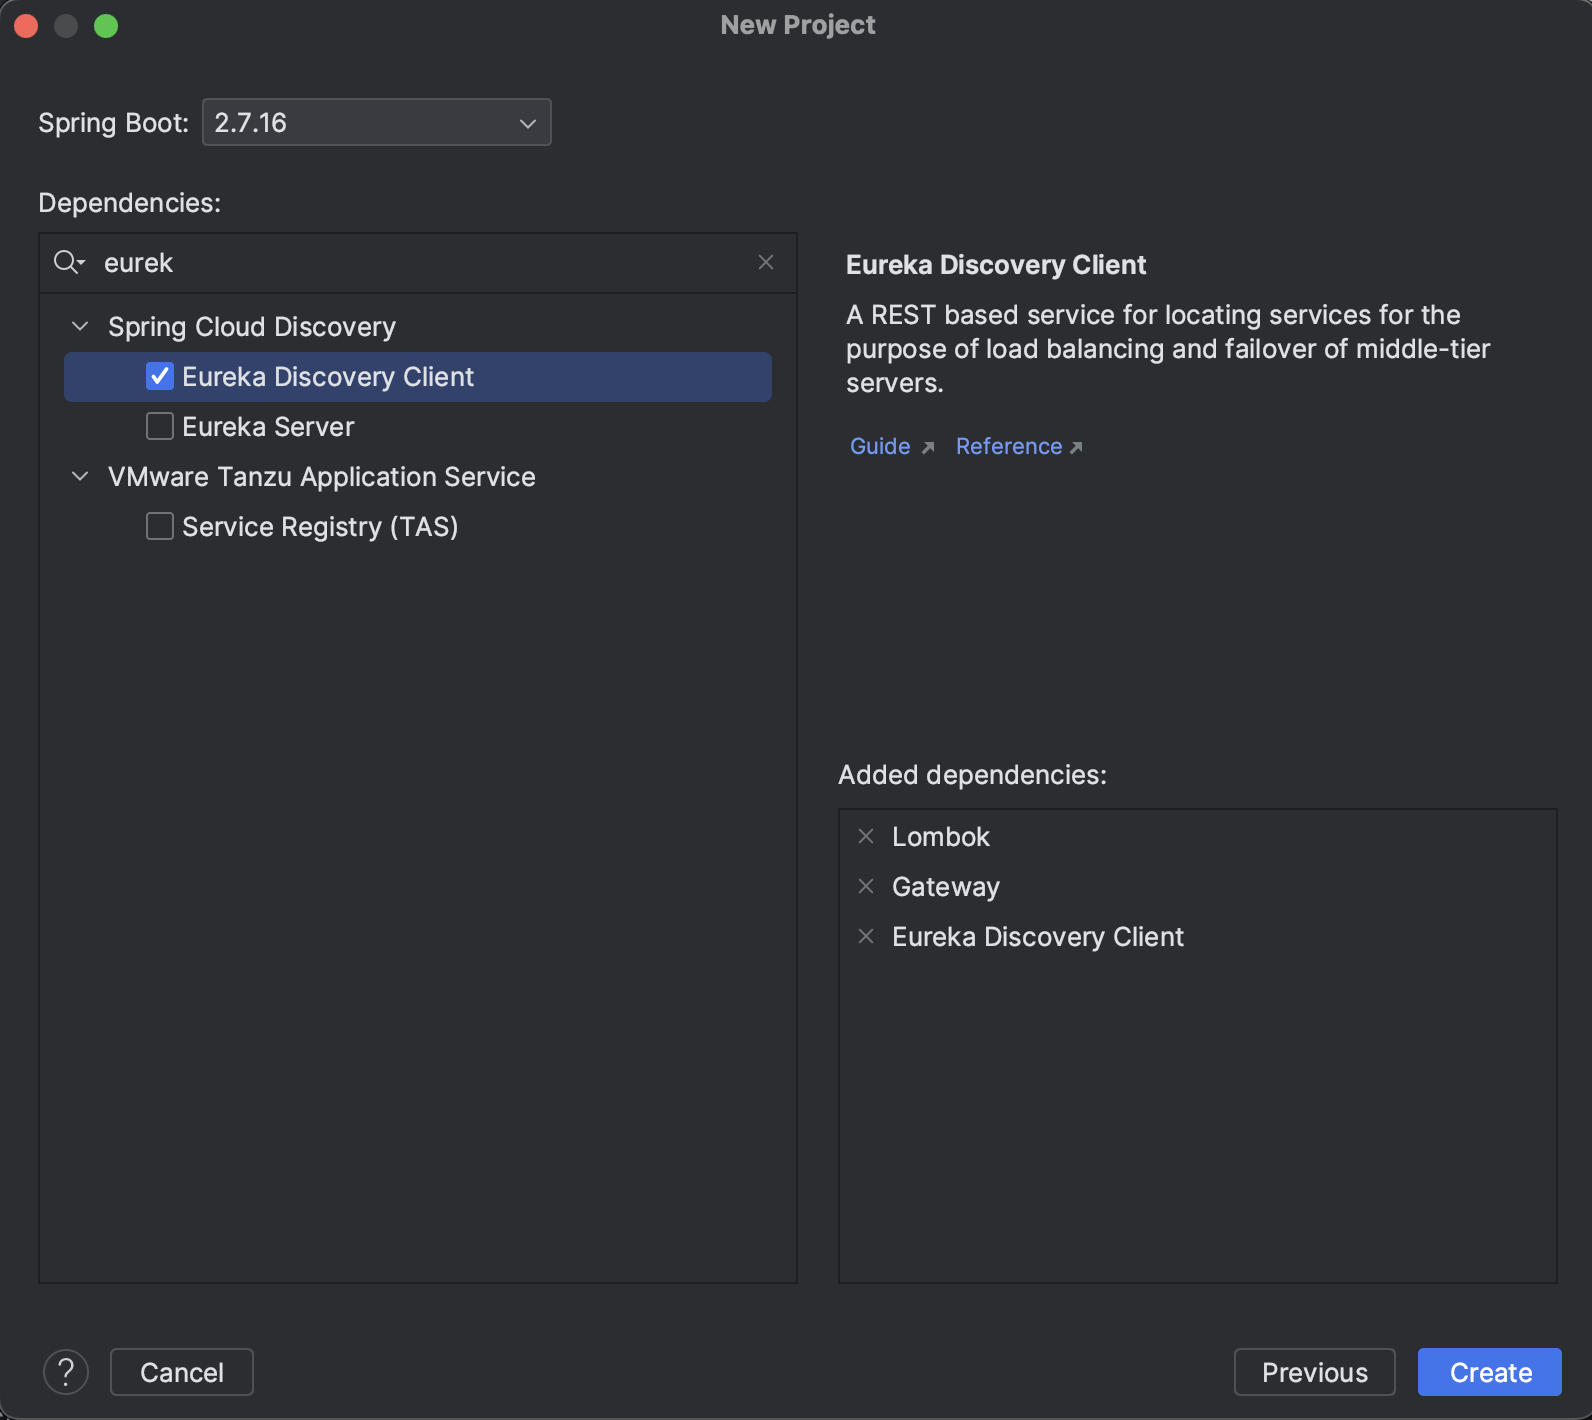
우선 클라이언트 서비스 first, second 서비스 두가지를 만들어보겠습니다.
기존과 동일하게 프로젝트는
java 11
maven
Eureka Discovery Client, Lombok 정도만 추가하여 생성
application.yml (first-service 프로젝트)
server:
  port: 8081

spring:
  application:
    name: my-first-service

eureka:
  client:
    fetch-registry: false
    register-with-eureka: false
FirstServiceController.java (Test)
package com.example.firstservice;

import org.springframework.web.bind.annotation.GetMapping;
import org.springframework.web.bind.annotation.RequestMapping;
import org.springframework.web.bind.annotation.RestController;

// http://localhost:8081/welcome
// http://localhost:8081/first-service/welcome
@RestController
@RequestMapping("/first-service")
public class FirstServiceController {

    @GetMapping("/welcome")
    public String welcome() {
        return "Welcome to the First Service";
    }
}
application.yml (second-service 프로젝트)
server:
  port: 8082

spring:
  application:
    name: my-second-service

eureka:
  client:
    fetch-registry: false
    register-with-eureka: false
SecondServiceController.java (Test)
package com.example.secondservice;

import org.springframework.web.bind.annotation.GetMapping;
import org.springframework.web.bind.annotation.RequestMapping;
import org.springframework.web.bind.annotation.RestController;

// http://localhost:8082/welcome
// http://localhost:8082/second-service/welcome
@RestController
@RequestMapping("/second-service")
public class SecondServiceController {

    @GetMapping("/welcome")
    public String welcome() {
        return "Welcome to the Second Service";
    }
}
Spring Cloud로 진행해보겠습니다.


application.yml 설정
위에서 생성한 클라이언트 서비스 (first-service, second-service) 로 연결설정
server:
  port: 8000

eureka:
  client:
    register-with-eureka: false
    fetch-registry: false
    service-url:
      defaultZone: http://localhost:8761/eureka

spring:
  application:
    name: apigateway-service
  cloud:
    gateway:
      routes:
        - id: first-service
          uri: http://localhost:8081/
          predicates:
            - Path=/first-service/**
        - id: second-service
          uri: http://localhost:8082/
          predicates:
            - Path=/second-service/**
URL Test! ( http://localhost:8000/first-service/welcome )

Spring Cloud Gateway를 통해서 각 클라이언트 서비스가 호출되는 것을 확인할 수 있다!
이후 root를 필터를 통해서 고정하거나 제거를 처리해보겠습니다.
'Spring > SpringBoot-MSA' 카테고리의 다른 글
| SpringBoot MSA (7) - API Gateway Service Filter (2) (0) | 2023.10.10 |
|---|---|
| SpringBoot MSA (6) - API Gateway Service Filter (1) | 2023.10.09 |
| SpringBoot MSA (4) - UserService / Load Balancer (0) | 2023.10.03 |
| SpringBoot MSA (3) - Service Discovery에 UserService 등록하기 (0) | 2023.10.03 |
| SpringBoot MSA (2) - Service Discovery (0) | 2023.10.03 |


댓글 영역